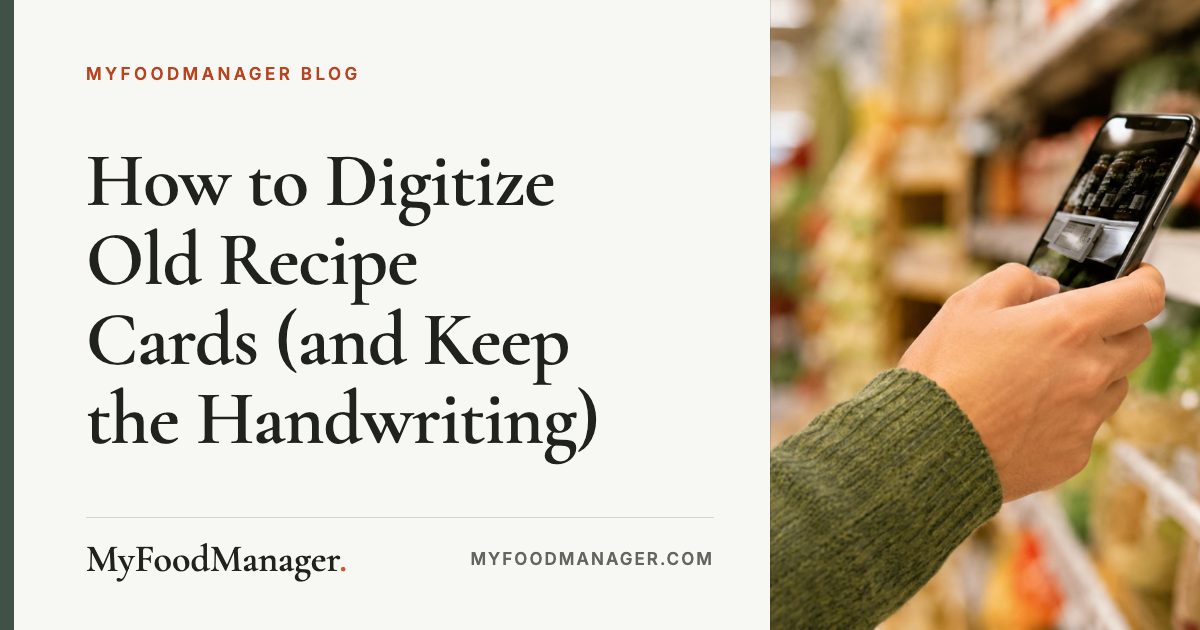
How to Digitize Old Recipe Cards (and Keep the Handwriting)
Last reviewed: October 7, 2026.
Key takeaways
- Keep the image, not only the text. The handwriting, stains and margin notes are what make a family recipe worth saving.
- A phone is good enough for most recipe boxes if you use soft daylight, keep the card flat and shoot straight down. A flatbed scanner is better for fragile or faded cards.
- Shoot both sides of every card. Recipes run onto the back more often than you’d think, and so do notes like “from Aunt Ruth, 1962”.
- Retyping is the most accurate way to get text, but it’s slow. Apps that read the card are faster, but you must check quantities, temperatures and abbreviations.
- Back up to at least two places. The Library of Congress suggests keeping copies in separate locations so one disaster can’t take everything.
- Put the originals somewhere cool, dry and dark once you’re done, without rubber bands, paper clips or tape.
Before you start: sort the box
Sort before you photograph anything. It makes the rest go faster.
- Empty the box onto a clean table, keeping any dividers and their order together.
- Pull out duplicates but don’t throw them away yet. Two versions of the same pie in different hands often differ in one small, important way.
- Set aside fragile cards (brittle, torn, taped or badly faded). Those go on a scanner, not under a phone.
- Remove paper clips, staples and rubber bands gently. The Library of Congress’s scanning guide says to remove clips, staples and tape before scanning, and its paper-care guidance advises against using rubber bands, paper clips and self-adhesive tape on paper at all (Library of Congress, Scanning Your Personal Collections; Library of Congress, Care, Handling and Storage of Works on Paper).
Your four options, compared
| Method | Best for | What it costs you | Watch out for |
|---|---|---|---|
| Phone photos | Most boxes, most cards | Time; no extra equipment | Glare, shadows, tilted shots |
| Flatbed scanner | Fragile, faded or very small cards | A scanner, and more time per card | Dust on the glass, pressing brittle cards flat |
| Retyping | Getting perfect text | Lots of time | Typos; “fixing” the original by accident |
| Apps that read the card | Turning a big box into searchable recipes quickly | A check of every recipe | Misread fractions, temperatures and abbreviations |
Most families combine two: images from a phone or scanner, plus text from typing or an app.
Option 1: Photograph the cards with your phone
A modern phone camera captures plenty of detail for a recipe card. The setup is what makes the difference.
Photo tips that matter
- Use soft, even daylight. A table near a window on a bright, overcast day is ideal. Avoid direct sun, which throws hard shadows, and overhead room lights, which put a glare spot on glossy cards.
- Turn the flash off. Flash causes a bright hot spot and washes out pencil.
- Lay the card flat on a plain, contrasting background: a sheet of dark construction paper under a light card works well. Don’t press a curled card flat with your hand; let it relax for a while instead.
- Shoot square-on. Hold the phone directly above the card with the screen parallel to the table. If the card looks like a trapezoid on screen, you’re tilted.
- One card per shot, filling most of the frame with a small border. Two cards in one photo means cropping later, and less detail on each.
- Photograph both sides, even if the back looks blank. Take the back right after the front so they stay next to each other in your camera roll.
- Check the first few shots zoomed in. If you can’t read a faint pencil note on screen, nobody will be able to later.
Many phones’ notes or cloud-storage apps have a document-scan mode that finds the card’s edges and straightens it. Compare it with a normal photo first: some boost contrast so hard that pale pencil and old stains disappear.
Option 2: Use a flatbed scanner
A flatbed scanner gives even light and a flat, square image every time, so it’s the better choice for faded or fragile cards. It’s slower, so many people scan only those.
- Clean the glass first. Dust and smudges show up on every scan.
- Scan at 300 dpi or higher. The Library of Congress’s guidance for personal collections is to scan documents at 300 dpi in general, and at 400 or 600 dpi if you want to enlarge a small item later (Library of Congress). A small recipe card you might print as a framed keepsake is a good case for 600.
- Use color, not black-and-white. The same guide notes grayscale can capture handwriting detail better than two-tone black-and-white scans. For recipe cards, color is better still: it keeps the faded blue ink, the grease spot and the yellowed paper.
- Save a high-quality JPEG or PDF. Keep this untouched master, and do any cropping or brightening on a copy.
Option 3: Retype the recipes
Typing each card yourself gives the most accurate text, and it’s a nice job to share with a relative who wants to help. It’s slow, so it suits a small box best.
- Type exactly what’s written first, including “oleo”, “a scant cup” or “bake in a moderate oven”. Then add your own notes underneath, clearly marked as yours, with what you think it means today.
- Don’t silently correct the original. If the card says one teaspoon of something and you’re sure it’s a tablespoon, write a note. Someone else may know better.
- Keep the image with the text, so anyone can check the original.
Option 4: Use an app that reads the card for you
Apps that read text from a photo can turn a stack of cards into searchable recipes far faster than typing. They handle printed cards very well. Handwriting is harder: neat cursive often reads well, while faint pencil, crowded margins and personal shorthand can trip any reader, human or software.
Whatever you use, check these every time, because they’re the mistakes that ruin a recipe:
- Fractions: ½ and ¼ are easy to misread, as is a 1 that’s really a 7.
- Teaspoon vs. tablespoon: “t” and “T” look alike in handwriting.
- Oven temperatures and times: 350 vs. 330, or 25 minutes vs. 35.
- Ingredients listed in the method but not in the list, which some cooks did all the time.
Scanning recipe cards with MyFoodManager
This is one of the things MyFoodManager was built for. You photograph a recipe with your phone, or upload images on the website, and it reads the title, ingredients and steps into a recipe you can search, plan with and cook from. A recipe can have up to 10 pages, so the front and back of a card go in together as one recipe.
Two details matter for family cards:
- It keeps the original images with the recipe. The handwriting is always one tap away from the typed version.
- It highlights anything it wasn’t sure of, so you know which lines to compare with the card. It reads handwriting well but not perfectly, so that check is part of the job, as it would be with any reader.
Once it’s in, the recipe can go on your meal plan and grocery list, and opens in a large-text cook mode you can read across the kitchen.
Organize what you’ve captured
A folder of 300 photos named IMG_4471 isn’t much better than a box.
- Name files so they sort. The Library of Congress suggests descriptive file names with a year-month-day date, and a consistent folder structure (Library of Congress). For recipes, something like
apple-cake-grandma-ruth-front.jpgandapple-cake-grandma-ruth-back.jpgworks. - Group by course or by the box’s own dividers. If Grandma filed cookies under “Christmas”, keep that. It’s part of the story.
- Record who wrote it, if you know. A line saying “Mom’s handwriting, recipe from her neighbor Edna” is the kind of detail that gets lost in one generation.
- Mark the family favorites, and do those first and most carefully.
Back it up, then share it
Make at least two copies in two places
The Library of Congress recommends at least two copies of a personal collection, stored in different locations as far apart as practical, and moving your files to current storage every five to seven years (Library of Congress). In practice, that means one copy on your computer or in cloud storage and another on an external drive kept somewhere else, such as with a sibling.
Share with the family
- A shared cloud folder with the images and a typed document is the simplest option, and anyone can download their own copy.
- A printed family cookbook with the scanned card on one page and the typed recipe opposite makes a good gift. Print the card at its real size or a little larger.
- Ask relatives to fill gaps on cards you can’t read or can’t place.
Look after the originals
The Library of Congress’s guidance for paper is a cool, relatively dry spot away from light, radiators and vents, and to avoid attics and basements (Library of Congress). It recommends acid- and lignin-free folders and boxes, or polyester sleeves, and advises against self-stick tape, even tape sold as archival.
Frequently asked questions
What’s the best way to scan old recipe cards?
For most cards, a phone photo in soft daylight, with the card flat and the phone held straight above it, works well. For fragile or faded cards, use a flatbed scanner at 300 dpi or higher in color. Either way, capture both sides and keep the original image.
Can apps read handwritten recipe cards?
Yes, and many read neat handwriting well, but none read every hand perfectly. Faint pencil, abbreviations and crowded margins cause most errors. Use an app that keeps the original image and shows you what it wasn’t sure of, then check fractions, measurements and temperatures against the card.
What resolution should I scan recipe cards at?
The Library of Congress recommends 300 dpi for documents in general, and 400 to 600 dpi if you may want to enlarge or reprint the item. Recipe cards are small, so 600 dpi is a good choice for any card you might frame or print in a family cookbook.
Should I keep the original recipe cards after scanning them?
If you can, yes. Store them somewhere cool, dry and dark, away from attics and basements, in acid-free folders or sleeves, and remove rubber bands, clips and tape. The scans protect the recipes if the cards are lost; the cards are still the real thing.
How do I share digitized family recipes with relatives?
Put the images and typed recipes in a shared cloud folder, or print a family cookbook pairing each card with its typed version. Keep a backup somewhere other than your home.
Bring the recipe box back into the kitchen
Saving the cards is the first step; cooking from them is the point. MyFoodManager reads your recipe cards from a photo, keeps the original images with each recipe, and flags anything to double-check, so Grandma’s apple cake can go on next week’s meal plan and straight onto the grocery list. It works on the website and your phone’s browser, and it’s free to start.